
How to Make Layers in Sketchup
The "Opaque" slider in the "Layers" window makes SketchUp layers transparent.
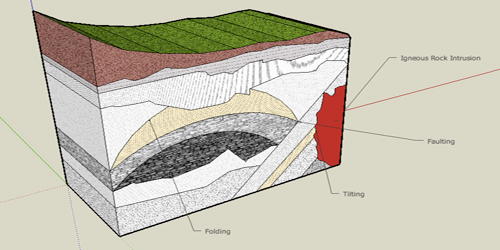
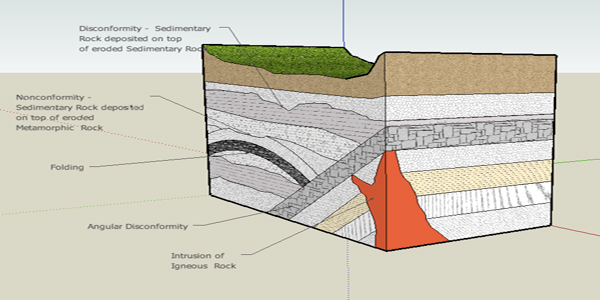
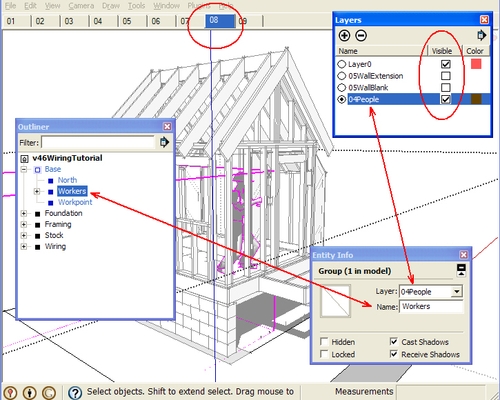
Flag this photo Layers are one kind of tool the 3-D design program Google SketchUp offers to help you organize your designs. A scenario illustrates how layers work. For a house design, you can place the house object on one layer, while creating several different landscapes on separate layers. By setting this up, and turning off the visibility of all but one of the landscape layers and the house layer, you can try out different landscaping designs for the same house. Making a new layer involves working with the controls in SketchUp's "Layers" window.
Difficulty:
Moderate
Instruction
- Open SketchUp and then click the "Window" menu, followed by "Layers." This displays the "Layers" window, which will show the default layer, "layer0." You cannot delete or rename this layer.
- Click the window's + button to create a new layer. SketchUp will highlight the new layer to show that it's now the current layer. Any new objects you create go on the current layer.
- Type any name for layer. You may want to name the layer based on an object you'll create on it. For example, if you're designing a door, you could write "door" for the layer's name.
- Click any of SketchUp's drawing tools, and then drag in the drawing window to draw something. For example, click the "Rectangle" tool and drag to create a rectangle. The shape you create will help you see how layers work
- Click the checkbox in the "Layers" window for the currently selected layer. The shape you drew will disappear, which tells you that the checkbox control changes the visibility of the layer.
- Click the checkbox to restore your object's visibility.
- Create another layer with another object using the instructions from steps 2 through 4. SketchUp will highlight the new layer, which indicates it's now the active layer. New objects you create will appear on that layer.
- Click the arrow icon at the top right of the "Layers" window, and then click "Color by Layer." The objects you drew have now changed color. Each one appears with the same color as the swatch indicated for the object's layer in the "Layers" window. For example, if the "Layers" window shows a red color swatch for "Layer0" and a blue swatch for "Layer1," the "Layer0" object you drew will appear as red, while the "Layer1" object will appears in blue. This system for color coding layers lets you clearly see which layer an object belongs to.


- Sponsored Plugins


- Sponsored Plugins

- Cover Story
-
 SketchUp Can Help You Win Interior..
 -
Best Laptops for SketchUp
-
How to Resize Textures and Materials..
-
Discovering SketchUp 2020
-
Line Rendering with SketchUp and VRay
-
Pushing The Boundary with architectural
-
Trimble Visiting Professionals Program
-
Diagonal Tile Planning in SketchUp
-
Highlights of some amazing 3D Printed
-
Review of a new SketchUp Guide
- Sketchup Resources
-
SKP for iphone/ipad
-
SKP for terrain modeling
-
Pool Water In Vray Sketchup
-
Rendering Optimization In Vray Sketchup
-
Background Modification In sketchup
-
Grass Making with sketchup fur plugin
-
Landscape designing in Sketchup
-
Apply styles with sketchup
-
Bedroom Making with sketchup
-
Review of Rendering Software
-
Enhancing rendering for 3d modeling
-
The combination of sketchup
-
Exterior Night Scene rendering with vray