
Styles from Sketchup Artists


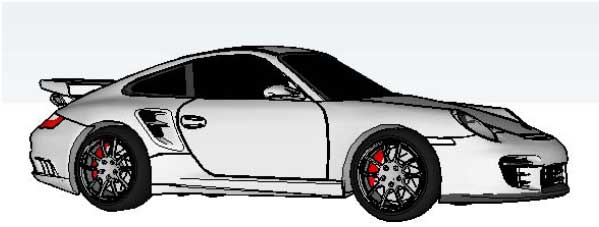
This project will help you use styles to display a nice model like this:
In some very eye-catching ways:
For this project, it helps to have some basic knowledge of Google SketchUp (though detailed instructions are provided). In particular, it’s important to know how to zoom, rotate, and pan the view. If you need more information on how to get started, and a description of some basic tools, please read 3DVinci’s Getting Started Guide (PDF):
PC users: go to www.3dvinci.net.
Mac users: go to www.3dvinci.net/SketchUp_Intro_MAC.pdf.
Step 1: SketchUp’s Default Styles
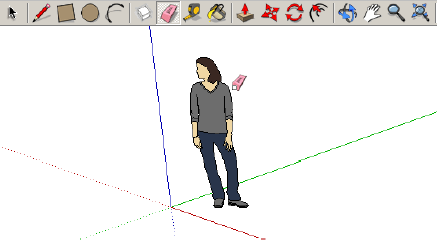
1. Open Google SketchUp. If your file contains a person standing on the ground near the origin, click the Eraser tool and erase him / her.
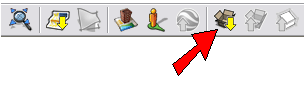
2. Click the Get Models tool.
3. This opens a 3D Warehouse search page; enter whatever search term you want. I’m looking for a Porsche model, and the one I picked is indicated below. For the model you choose, click the “Download Model” link.
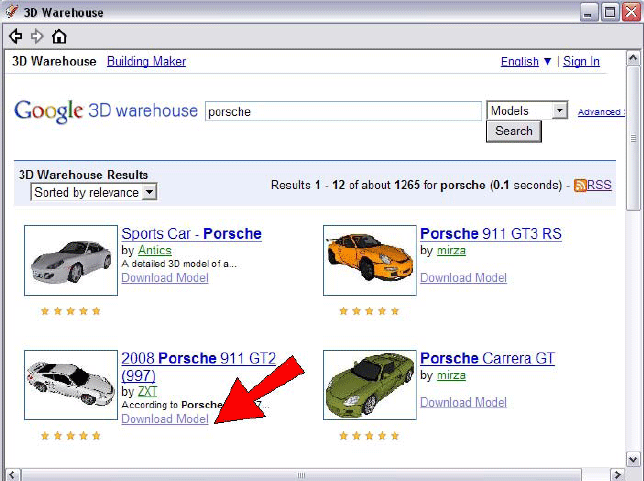
4. When asked if you want to load the model directly into your file, click Yes.
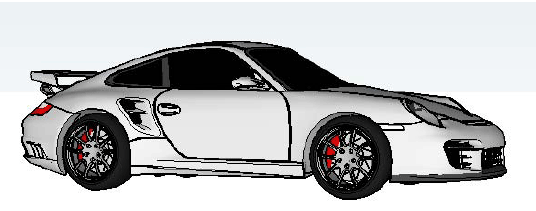
This is how my model looks, with a white background and a blue sky. The look of your model depends on the style of the template you chose when opening SketchUp - some styles have different background colors, face colors, etc.
Templates are selected when you start up SketchUp and see the Welcome to SketchUp window. If you don’t see this window, you’ve probably instructed SketchUp to always open with the same template. When SketchUp is open, you can change the default template by choosing Help / Welcome to SketchUp. The new template will appear the next time you open SketchUp.
5. What exactly is a SketchUp style? To see what styles are all about, choose Window / Styles to open the Styles window. The name of your model’s style is listed at the top; mine is “Training Style” which is part of the training templates.

The various properties of a style can be accessed when you click the Edit tab. There are several types of settings: edges, faces, backgrounds, etc. If you do poke around and make changes in the Edit tab, be sure to switch back to the Select tab.
6. To see how changing the style affects the look of your model, SketchUp has several default styles included. Open a style collection such as “Color Sets” shown below. Click one of the swatches, such as “Blue and Orange.” With this style, the background color changes to blue, all edges turn orange (yikes!)
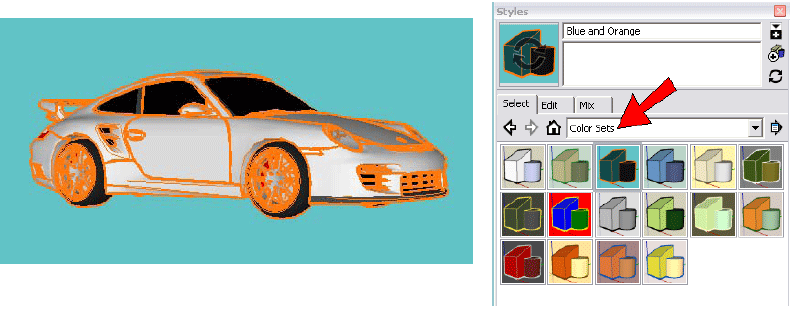
You’ll notice that the various swatches in the “Color Sets” collection show different colors for model faces, both front and back. These are the default face colors, and will only be applied to faces that aren’t already painted. In my Porsche example, all of the car’s faces are already assigned specific colors. So the green and black faces shown in the “Blue and Orange” style aren’t applied anywhere.
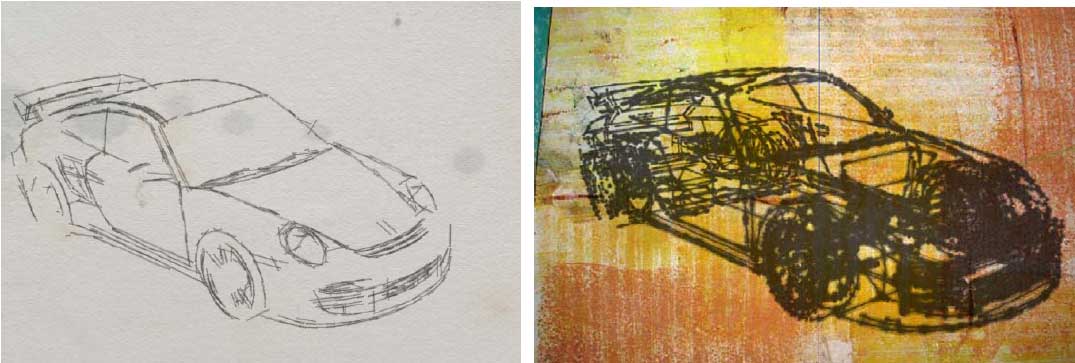
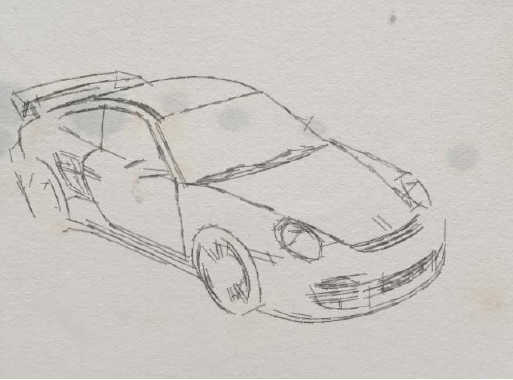
It’s fun to explore the other SketchUp styles to see all the various appearances you can get. For example, here’s “Pen Red” from the “Sketchy Edges” collection . . .
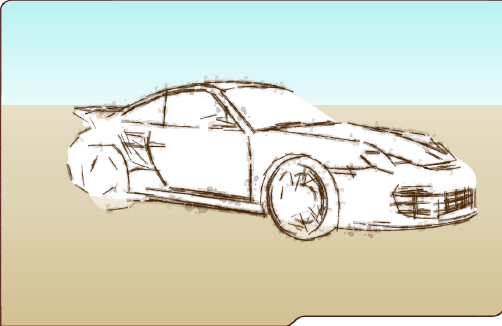
. . . and this one is “Stain Edges with Frame” from the “Style Builder Competition Winner” collection. This one has a watermark - an image surrounding the model that looks like a tabbed frame.
Step 2: SketchUp Artists Styles
There are a lot of nice styles provided with SketchUp, and of course you can always change any styles or create your own. And there are also styles available for free from other sources, such as SketchUp Artists.
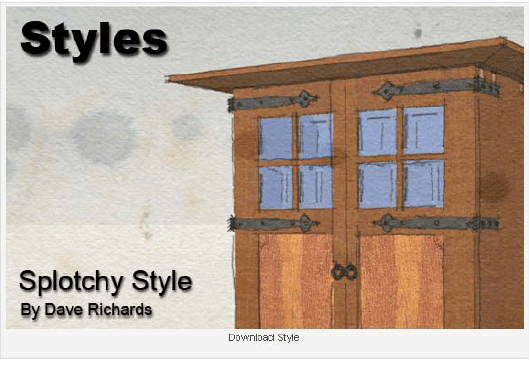
1. Point your browser to http://www.sketchupartists.org. This site is a wonderful resource for tutorials, primarily about rendering and visualization, not so much on using SketchUp itself for modeling. But you can spend a lot of time ogling the gorgeous images all over the site. On the left side, click “SketchUp Styles 2011.”
2. Find a style you like, such as “Splotchy Style” by Dave Richards, and click it to start the download.
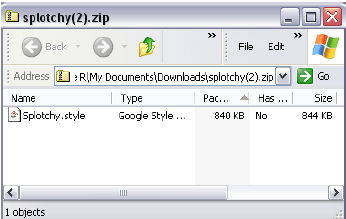
3. You’ll be download a ZIP file. When you open this file, you’ll have one file whose extension is .style.
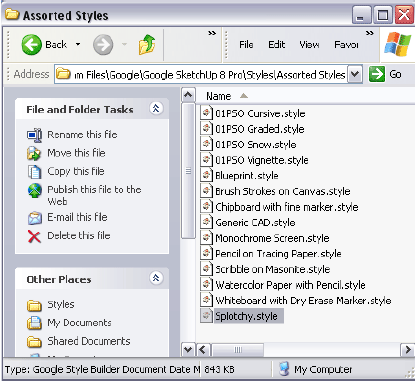
4. Where does a style file need to go? Open your SketchUp installation folder, and find the “Styles” subfolder. Within “Styles” you’ll find more subfolders, each representing the collection you saw in SketchUp’s Styles window.

5. It doesn’t really matter where you place the style file; SketchUp can read it from anywhere. But the easiest way to incorporate a new style into SketchUp is to place it inside an existing style collection folder. I’m opening “Assorted Styles” and placing my “Splotchy.style” file inside it.
6. Go back to SketchUp and open the “Assorted Styles” collection. If you don’t see your new style, click the Details arrow shown below, and choose Refresh.
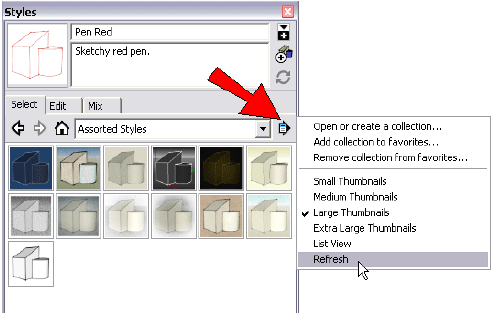
Now you should see the new style, and if you hover your cursor over the swatch you’ll see its name pop up.
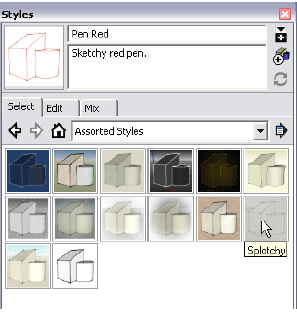
7. Click to apply the new style. This “Splotchy” style uses pencil-like edges, with a grainy paper background with some overlaid circular splotches. It’s a much different look than SketchUp’s normal, “cartoony” appearance (nothing against cartoons, of course).
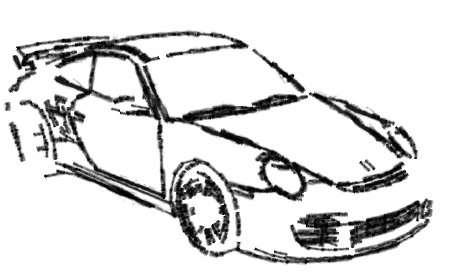
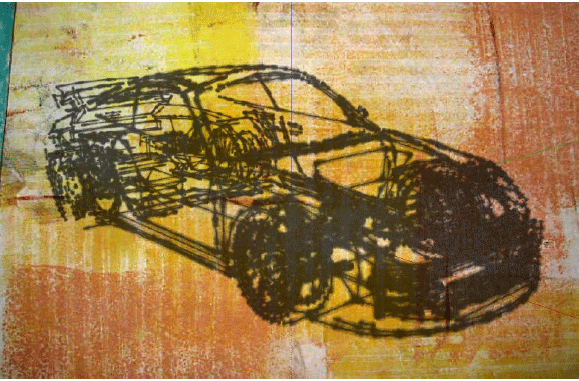
Try out a few more styles from SketchUp Artists. This one is “Fat Crayon” by Chris 71:
Here’s “Painted Fabric 1” by Dave Richards:
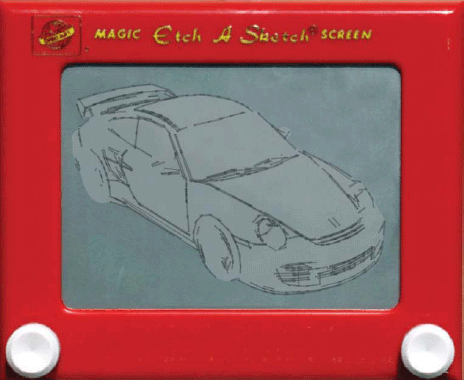
And here’s my favorite: “Etch a Sketch,” also by Dave Richards.
This project has given me ideas for two upcoming projects: creating your own watermarked styles (including overlaid and underlaid images), and how to mix and match styles. Please email me (bonnie@3dvinci.net) if either or both of these strike your fancy!
If you try this project and have a model with a great style that you’d like to share, please let me know! I would be happy to blog about your project, and include in an upcoming newsletter.

- Sponsored Plugins


- Sponsored Plugins

- Cover Story
-
 SketchUp Can Help You Win Interior..
 -
Best Laptops for SketchUp
-
How to Resize Textures and Materials..
-
Discovering SketchUp 2020
-
Line Rendering with SketchUp and VRay
-
Pushing The Boundary with architectural
-
Trimble Visiting Professionals Program
-
Diagonal Tile Planning in SketchUp
-
Highlights of some amazing 3D Printed
-
Review of a new SketchUp Guide
- Sketchup Resources
-
SKP for iphone/ipad
-
SKP for terrain modeling
-
Pool Water In Vray Sketchup
-
Rendering Optimization In Vray Sketchup
-
Background Modification In sketchup
-
Grass Making with sketchup fur plugin
-
Landscape designing in Sketchup
-
Apply styles with sketchup
-
Bedroom Making with sketchup
-
Review of Rendering Software
-
Enhancing rendering for 3d modeling
-
The combination of sketchup
-
Exterior Night Scene rendering with vray