
Hi everyone, I’m Mark Lester Ocampo and a Designer / 3D Visualizer based here in Bahrain. Today via Sketchup-Ur-Space I’ll explain how I created my kitchen rendering with Sketchup, 3dsMax+Vray & Photoshop.
Modeling
Modeling process starts with Sketchup, with the nature of my current work, I try to cut as much time as possible in the modeling process so I decide it would be best to start the basic shapes in Sketchup since I noticed that I’m faster using it than 3dsMax.
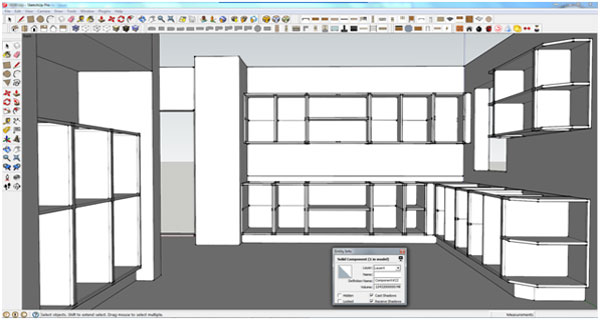
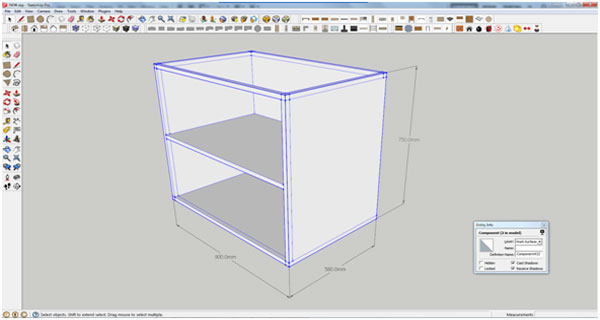
It is a good practice to ALWAYS conform to real-world sizes; in this case I used the metric system of measurement.
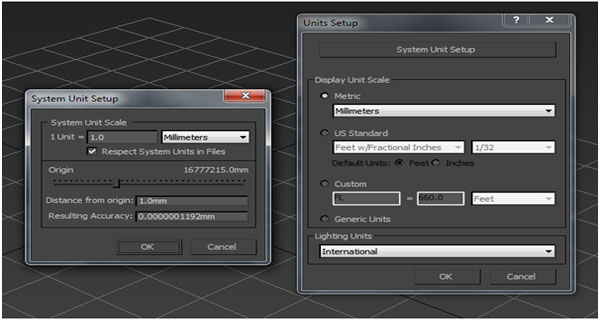
Once I finished modeling the basic shapes, I’ll export it to 3ds file then import inside 3dsMax. But we need to define first the scale of our model inside 3dsMax, I used millimeters.
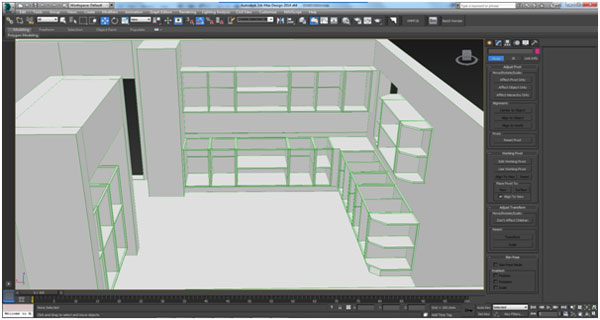
At this point, once we imported the 3ds file inside 3dsMax then we will start modeling the kitchen doors.
Below is the door profile:

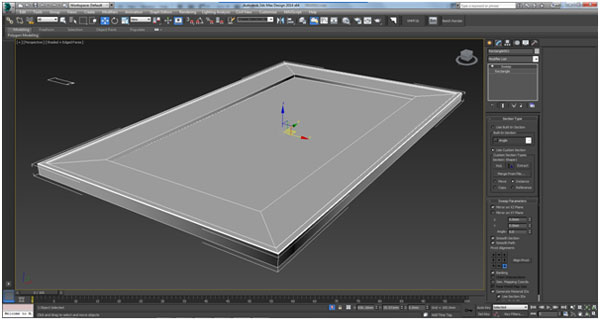
With these references, I was able to model the profile from scratch, I used sweep modifier to follow along a line and make the whole door:
Texturing
The kitchen door’s texture were done manually by me, I managed to get an actual sample from the supplier and scanned it. It’s a big piece and will not fit my scanner so I decided to scan by areas and will join it in Photoshop.
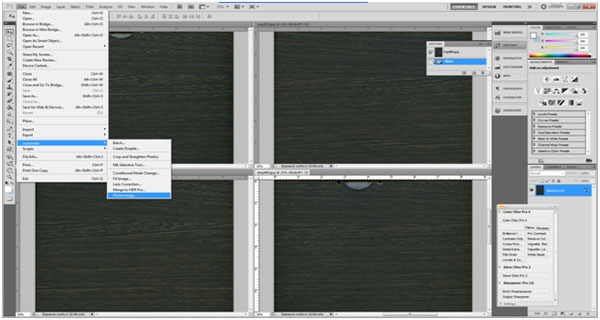
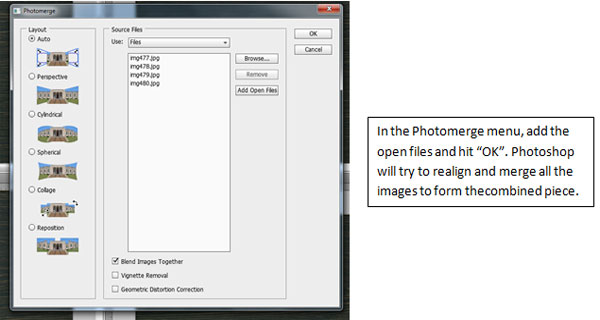
In Photoshop, open all the scanned images then go to File > Automate >Photomerge
Here’s my setting for the wood texture:
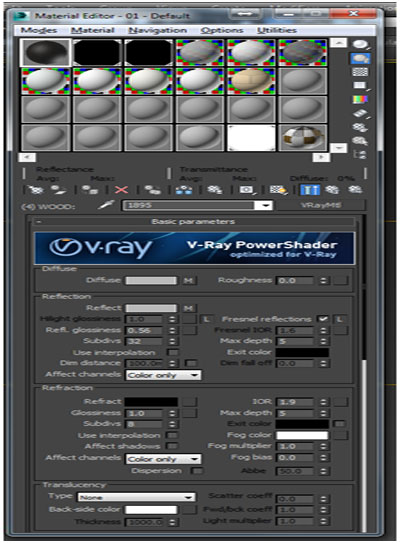
Note: I put a bump and reflection map by isolating the red channel of the diffuse map in Photoshop and made it a new file as seen on the second material editor.
Lighting
For the lighting, I used VraySun+Sky for the external lighting and added some VrayPlanelIghts in every opening I see with Skylight Portal set to ON. My settings are shown below:
Vray Sun:
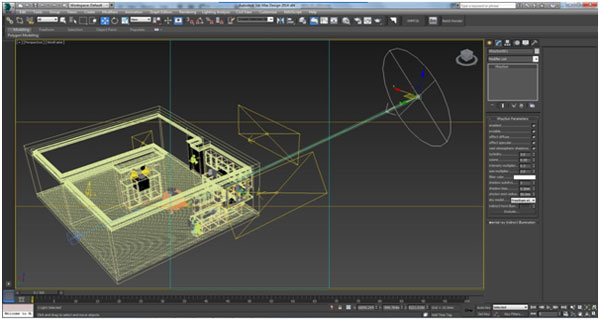
Vray Plane Lights placed in every window
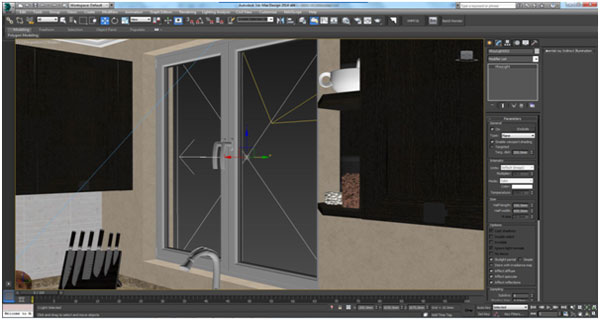
Additional Lights
In addition to the Vray Sun, I added another Vray plane light pointing at the window opening which in my opinion can help simulate a studio lighting ambiance to my scene; it’s positioned with the same axis as the Vray Sun.
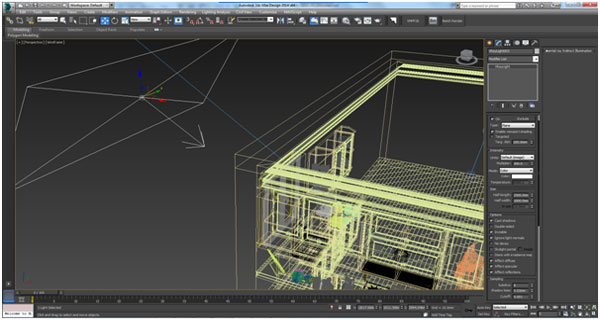
I have another Vray Plane Light near the ceiling at the far end corner of the scene which acts like a studio softbox.
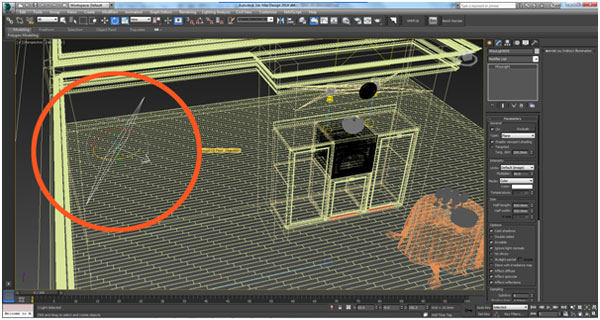
Another one is positioned at the hallway to counter-balance some dark areas of the scene.
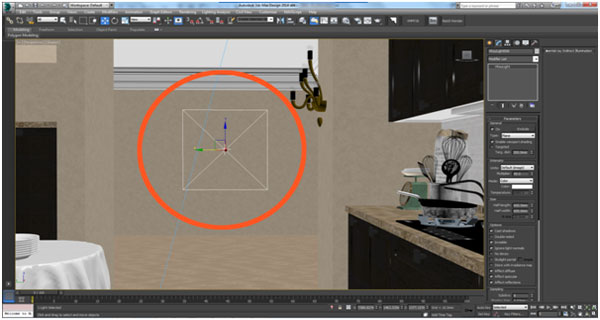
Camera Setting
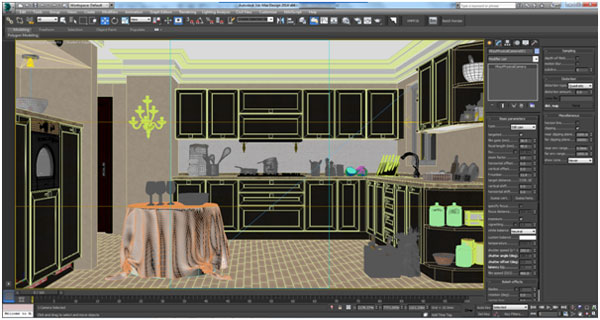
Rendering
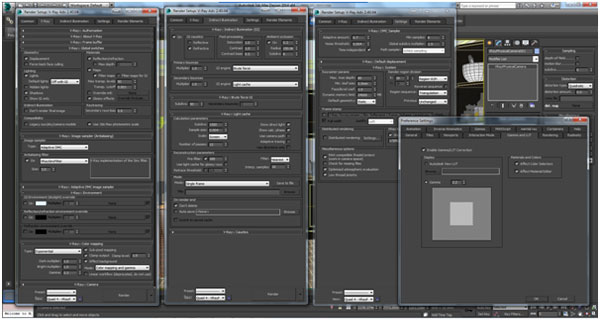
I use gamma 2.2 and Bruteforce when rendering, it’s very slow but so far reliable.
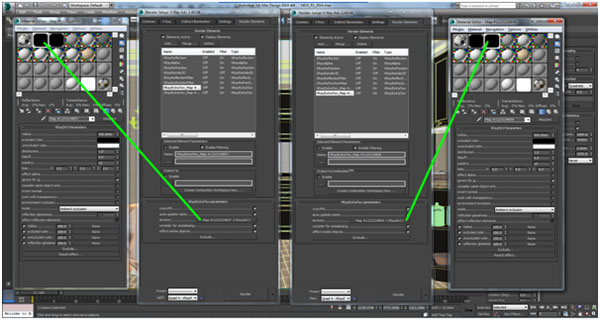
Below you can see my Render Elements, notice that I used two different Ambient Occlusion passes linked by two separate VrayExtraTex. The first one makes sure that I get the AO on the smaller details while the second ensures that I get the AO for the overall scene.
Post-Production
I made some minor adjustments in curves and levels to make the contrast “pop”.
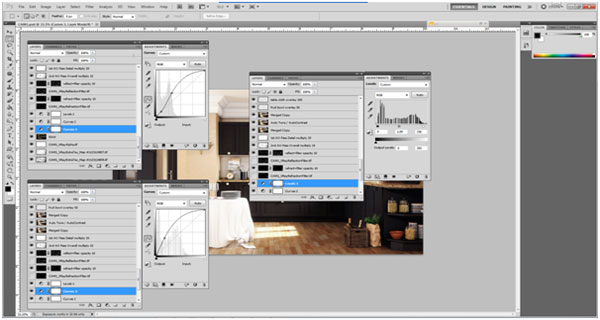
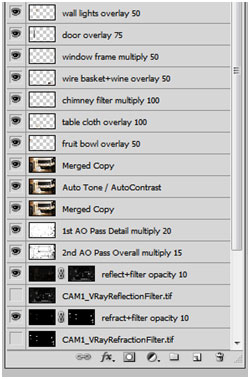
Below you can see how I masked the reflection+filter / refraction+filter passes and how I used the two AO passes. After that, I duplicated another copy andapplied Auto tone and Auto contrast with 50% opacity then merged it.
I Used VrayRenderID to isolate each parts of this scene with “Color Range” tool and copying the selected area to another layer and individually sets different adjustments as shown below:
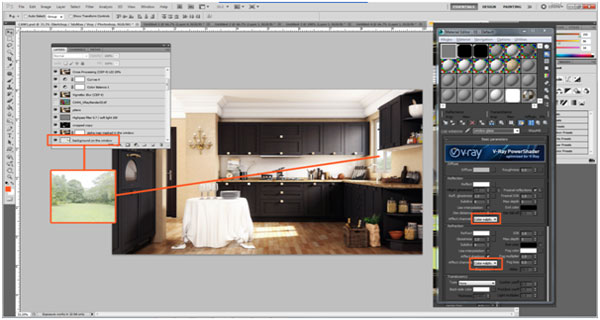
You may have noticed before that I did not put any background in 3dsMax because I did it in post-production, in order to isolate the window opening, I used alpha channel and tweaked my glass material to appear with the alpha render element.
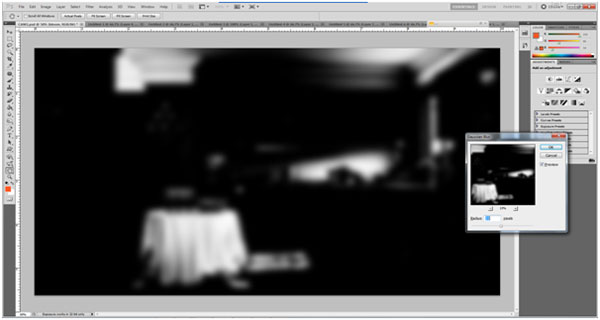
Next is to create a “Bloom” effect, this will simulate the light leaking out of the window due to the sun’s light streak. Duplicate a copy and desaturate it, go to curves and make something similar to this adjustment:

Now go to Filter > Blur > Gaussian Blur and set Radius to 22 pixels. Change the layer to “screen” with 20% opacity.
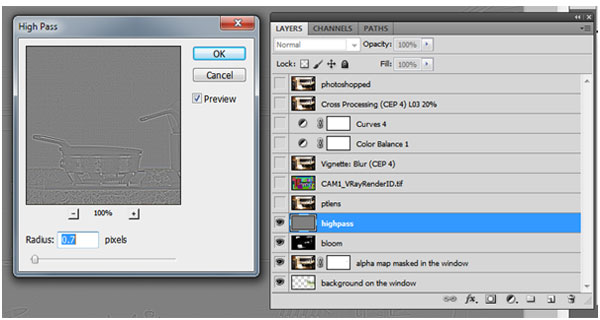
To add a subtle sharpness to your image, Duplicate another layer then go to Filter > Other > High Pass and set radius to 0.7 pixels, change layer to soft light.
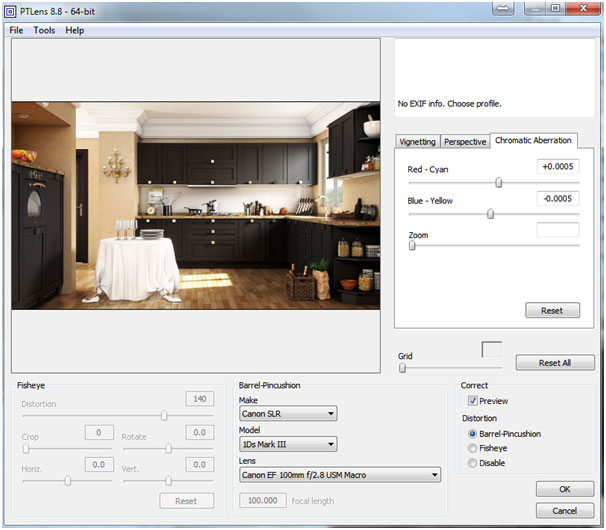
Next we will simulate Chromatic Aberration, I used a plugin “PTLens” to do this, it’s easy to use and it comes with a lot of simulated lenses to choose. you can download the trial version here: http://www.epaperpress.com/ptlens/download.html
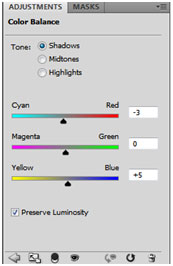
I did some minor adjustments again this time with Color Balance:
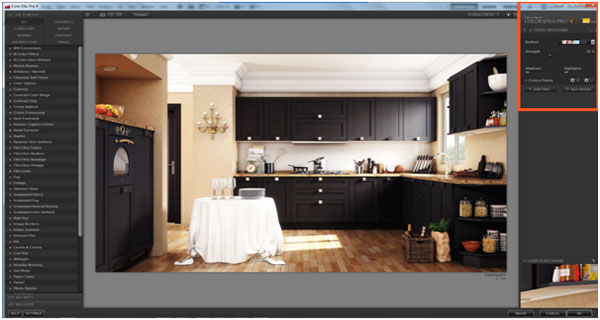
Finally, I used another plugin “Color Efex Pro” to simulate a “cross processed” look same of what you see with old film cameras.
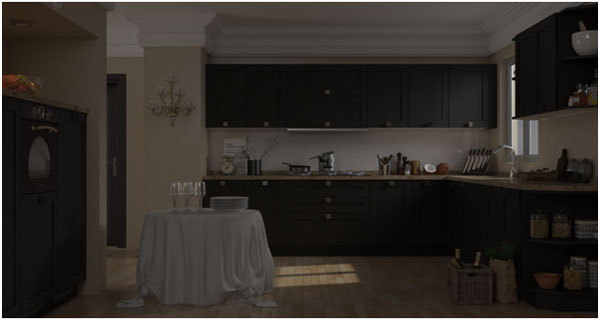
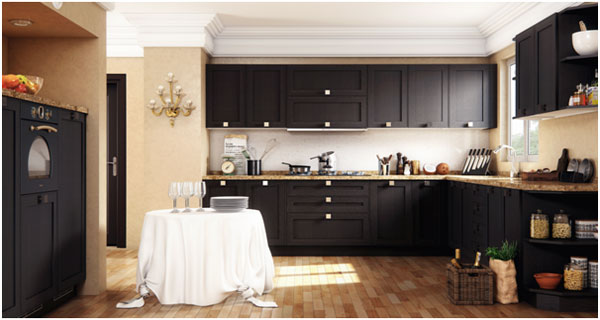
We’re done! See the difference between the RAW render and the final output:
Before
After
Thank you. I hope you’ll find my tutorial helpful and a great addition to your workflow. Good luck and happy rendering!
- Cover Story
-
 SketchUp Can Help You Win Interior..
 -
 Best Laptops for SketchUp
 -
 How to Resize Textures and Materials..
 -
 Discovering SketchUp 2020
 -
 Line Rendering with SketchUp and VRay
 -
 Pushing The Boundary with architectural
 -
 Trimble Visiting Professionals Program
 -
 Diagonal Tile Planning in SketchUp
 -
 Highlights of some amazing 3D Printed
 -
 Review of a new SketchUp Guide
- Sketchup Resources
-
 SKP for iphone/ipad
 -
 SKP for terrain modeling
 -
 Pool Water In Vray Sketchup
 -
 Rendering Optimization In Vray Sketchup
 -
 Background Modification In sketchup
 -
 Grass Making with sketchup fur plugin
 -
 Landscape designing in Sketchup
 -
 Apply styles with sketchup
 -
 Bedroom Making with sketchup
 -
 Review of Rendering Software
 -
 Enhancing rendering for 3d modeling
 -
 The combination of sketchup
 -
 Exterior Night Scene rendering with vray


