Author : Damian Keeley
Reinventing the wheel
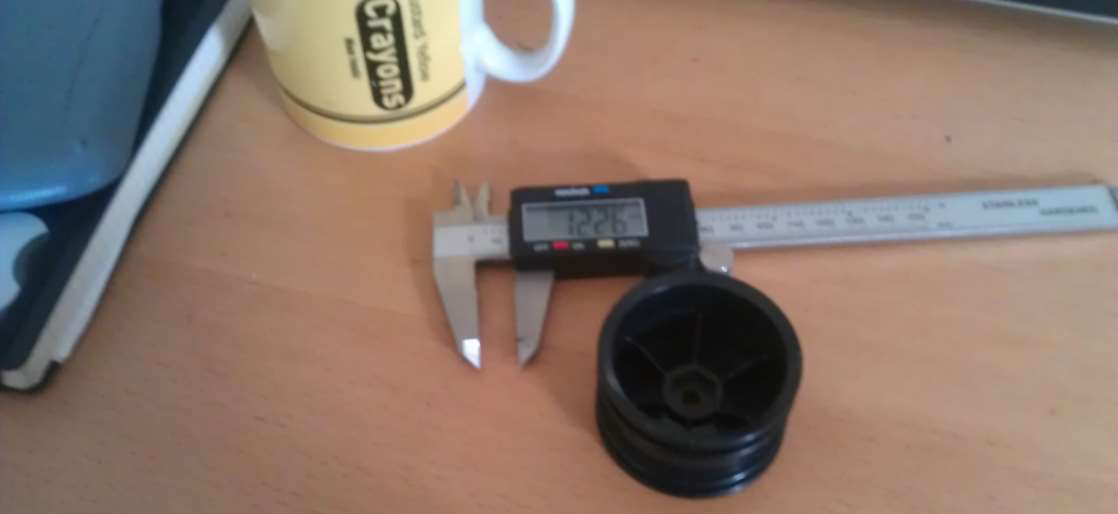
Measuring a wheel as a starting point, in this case a wheel from a radio controlled model Tamiya Madcap.
Basic measurements such as diameter and central hex size were taken, as were wall thicknesses to use as a rough guide to start the modelling.
I began working in a CAD drawing programme, to set out the wheel section, and tyre diameters.
I chose not to model this wheel in Vectorworks as it was a programme I was comfortable working in 2D in, but I just couldn’t get the hang of 3D in this release of Vectorworks.
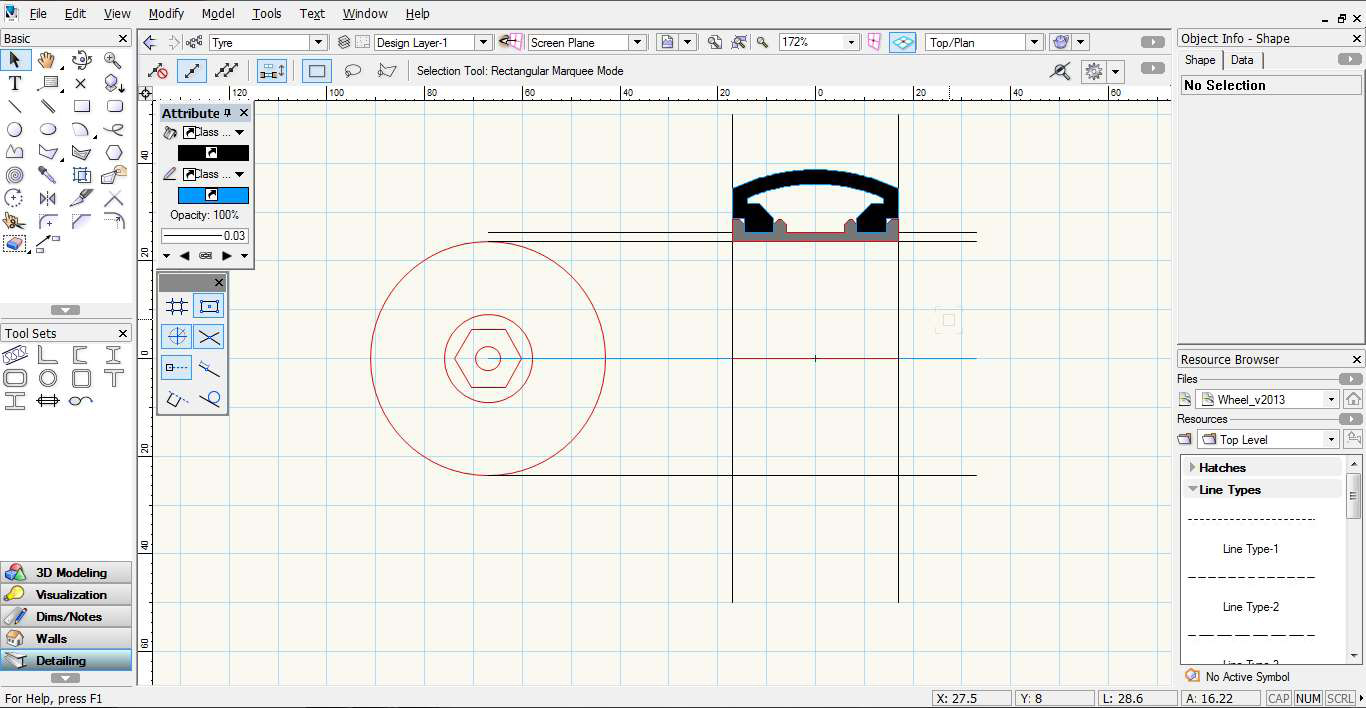
I exported the model as a .dwg and imported it into Sketchup 8 Pro.
You will need a Pro version to import and export .dwg files.
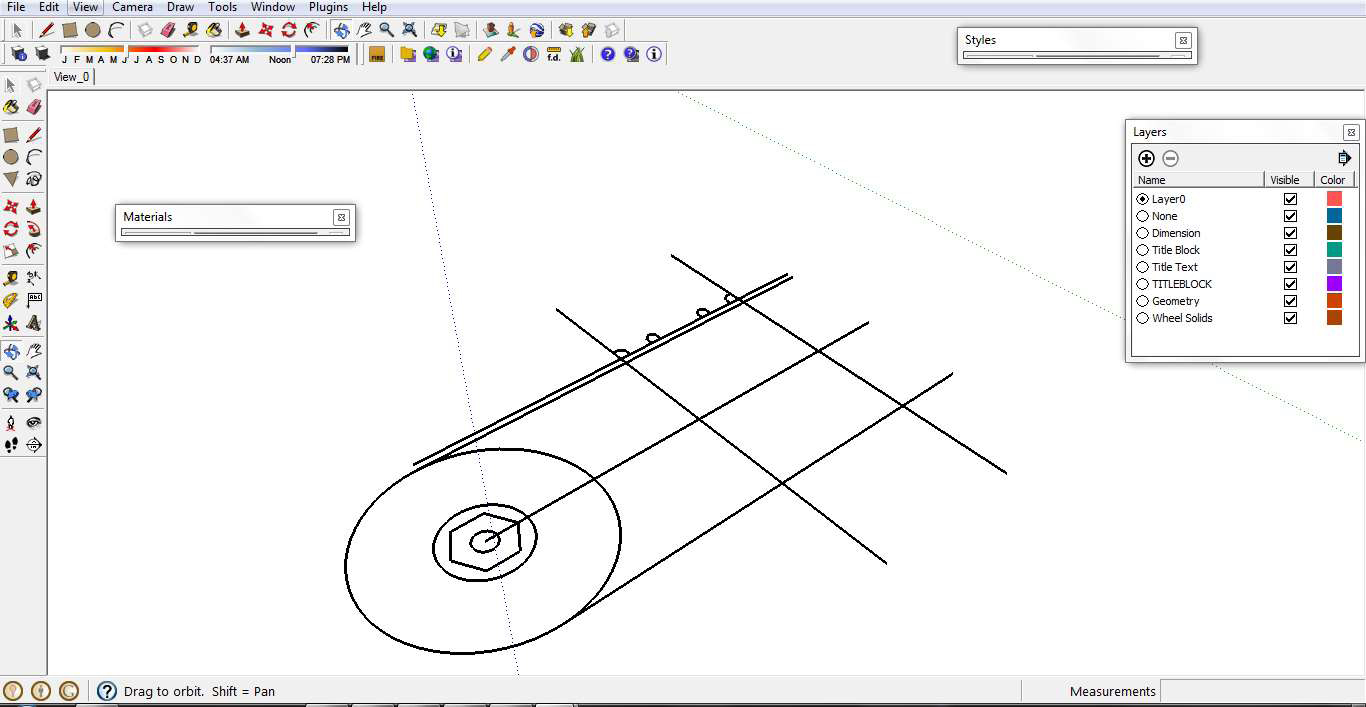
Bringing in the .dwg, I was pleased to see that Sketchup had recognised the groups and blocks from the original drawing. This makes life much simpler to organise the model.
Everything is drawn Layer 0, and then groups and components are assigned to other layers as needed to turn sections of the model on and off when in the working space.
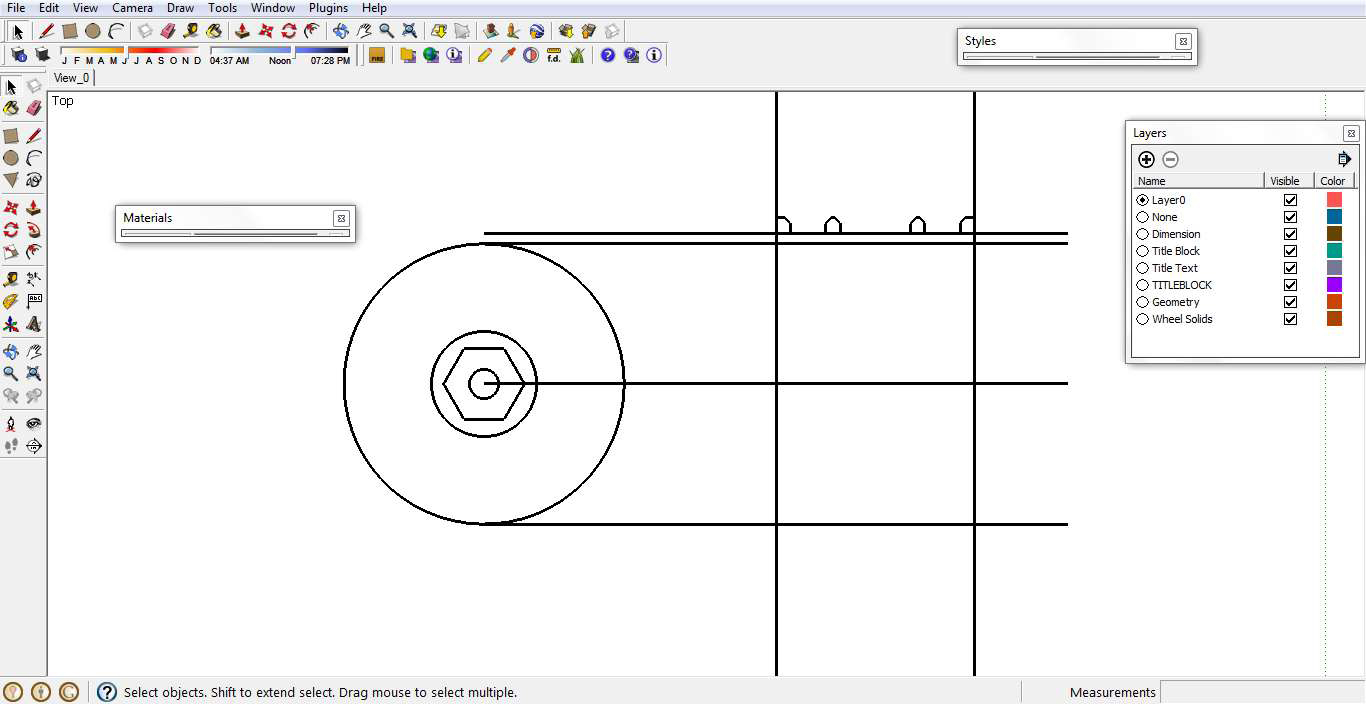
I imported the dwg and then arranged the groups so that I could perform a ‘follow me’ command based on the wheel rim section and the circumference of the wheel.
I also modelled the hub at this point and inserted it into the same group as the rim, as I wanted it to be exactly central to the circumference of the rim, this is important for when the wheel is made, as it should rotate in a true rotation.
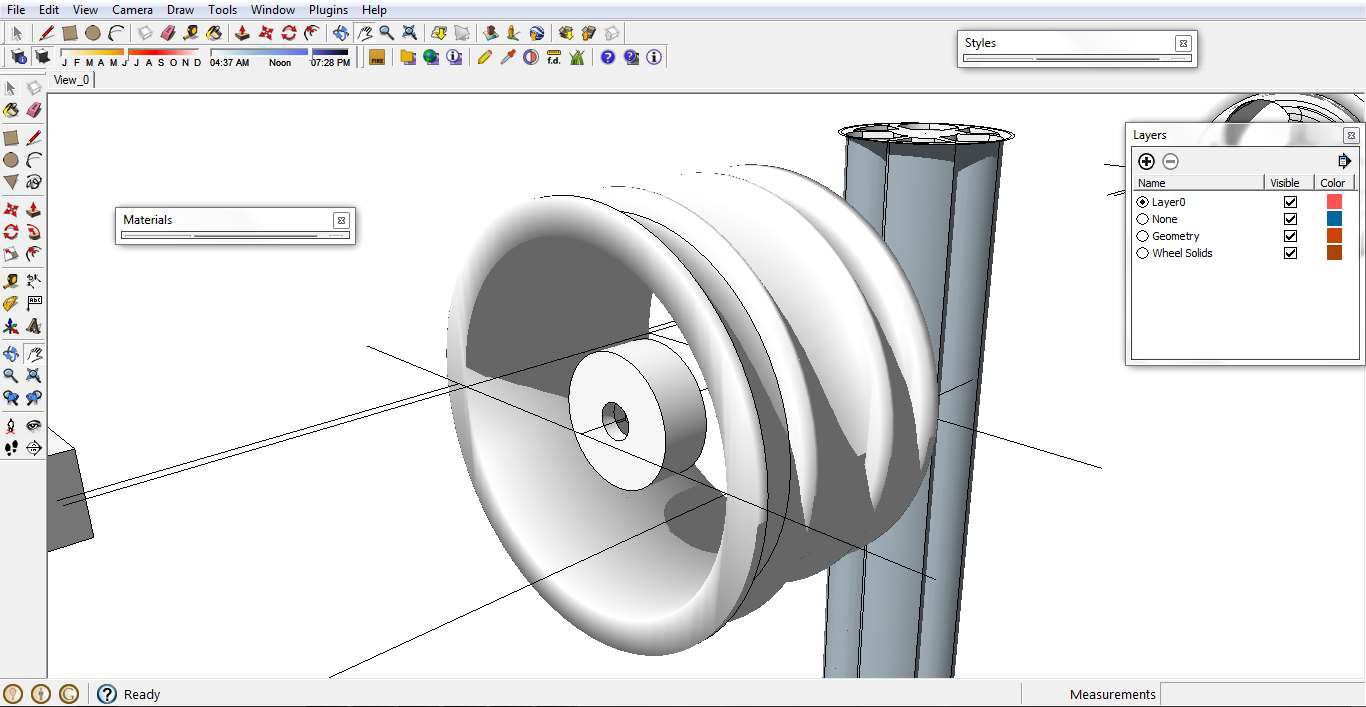
I tried various ways of modelling the spokes, but just couldn’t get the sophistication of profile as I wanted at first…
If at first you don’t succeed…
And I did try quite a few different approaches until I got what I wanted!
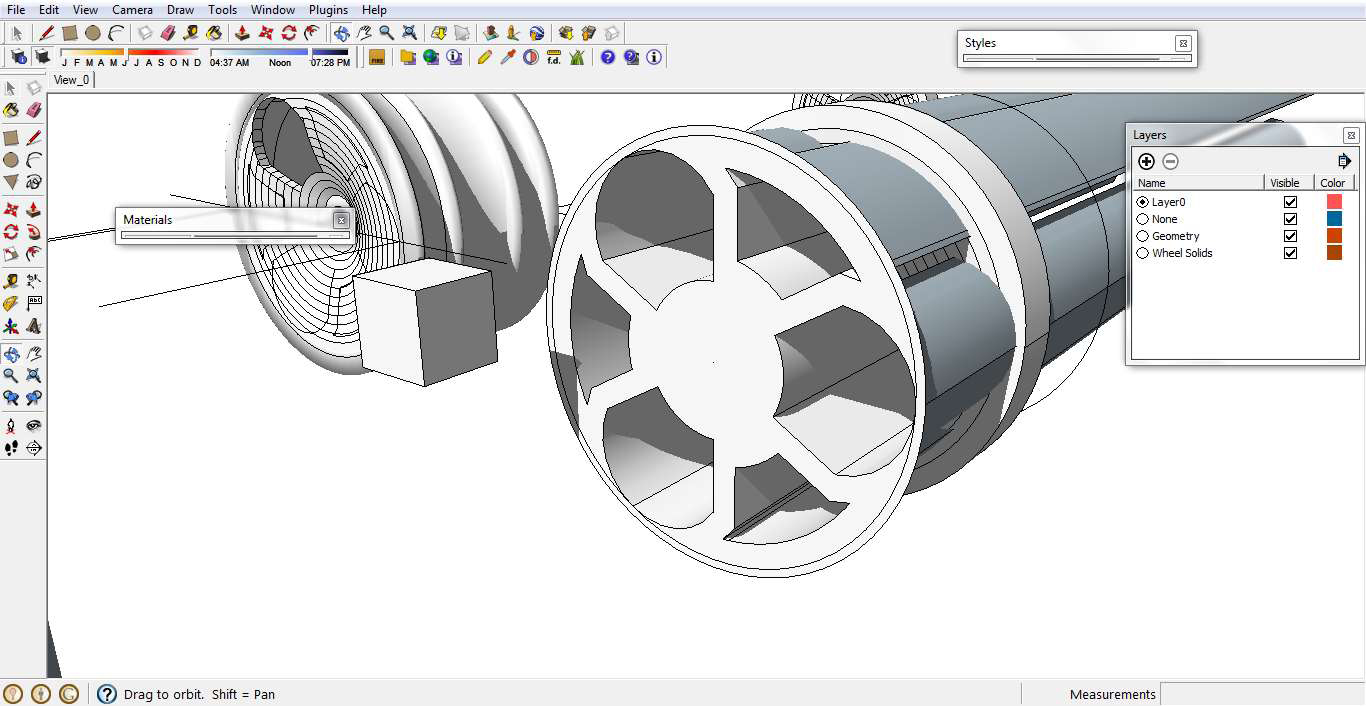
Like I say, I tried quite a few different approaches!
Intersect with model, and push pull, and most of all rotate copies! I learned quite a few new commands doing this model, fortunately there is plenty of help from www.sketchucation.com
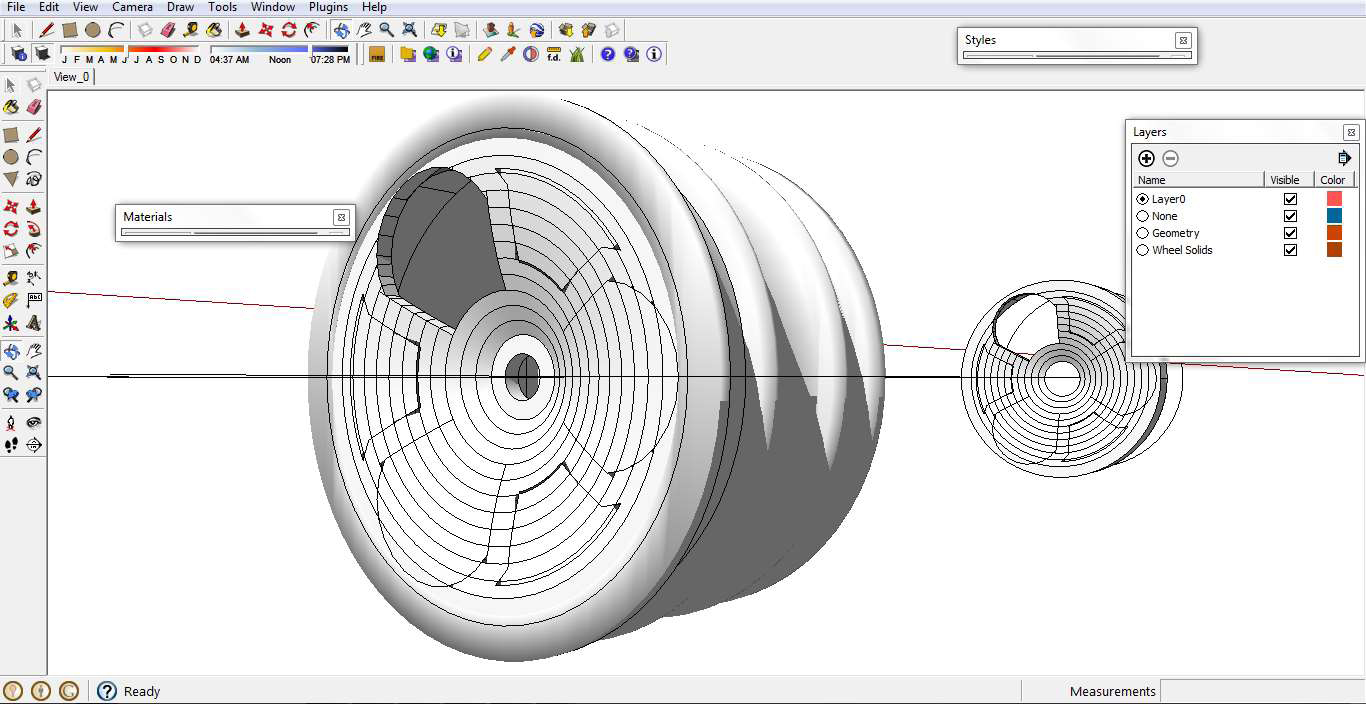
I settled on a fairly flat spoke in the end, choosing to express definition through sculpting a flat disc.
I split the disk into three segments, making a component of each, and reproducing it.
In this way, I reduced the work required to create the spokes by one third!
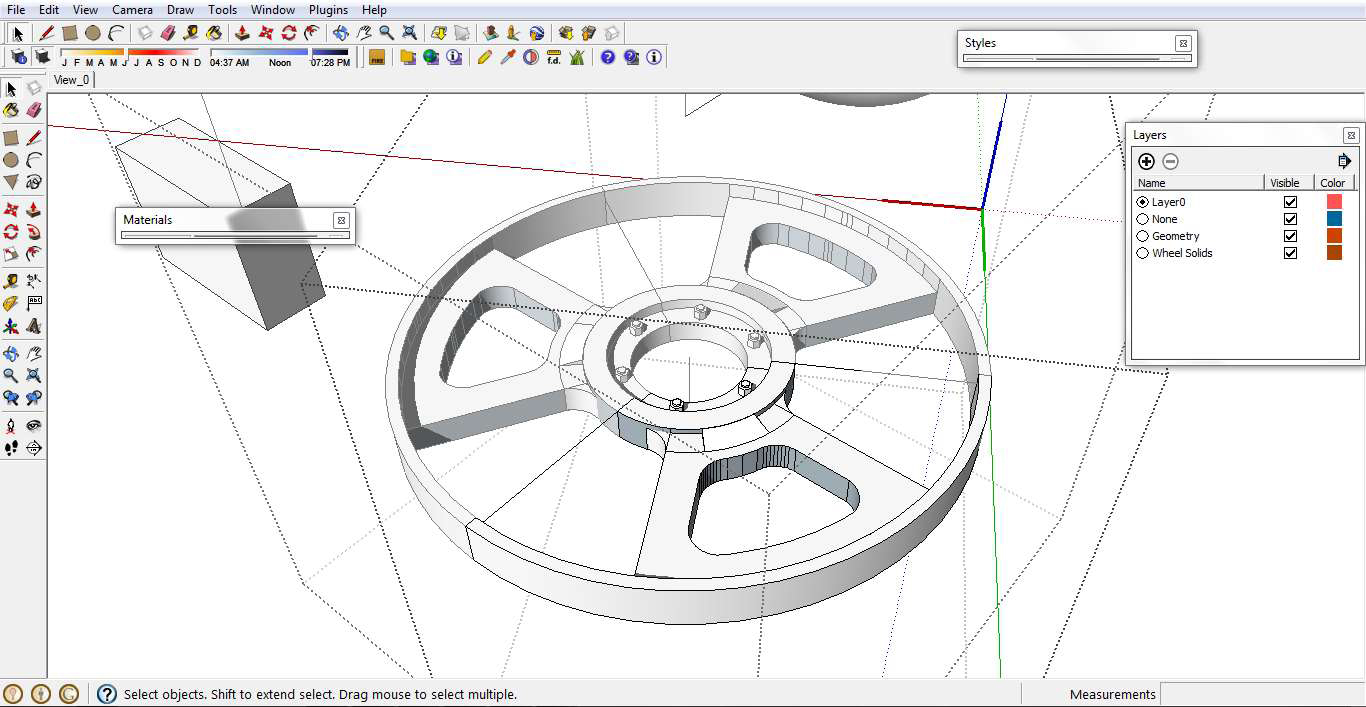
Lining up the rim and the hub and the spokes was simple enough after a few carefully placed guide lines were laid down

Reflecting on what other models had been discarded on the way to the final model, I realised that nothing is ever wasted. Lessons and tricks were learned, that would be used elsewhere in the model, and in future models.

With the model setup in place I wondered how I could export it as a perfect .stl file, which does not contain any internal wall sections, or random faces.
The terminology of an STL file that can be printed is ‘manifold’and means the model is of a sufficiently high quality to be 3D printed or Milled on a CNC machine.
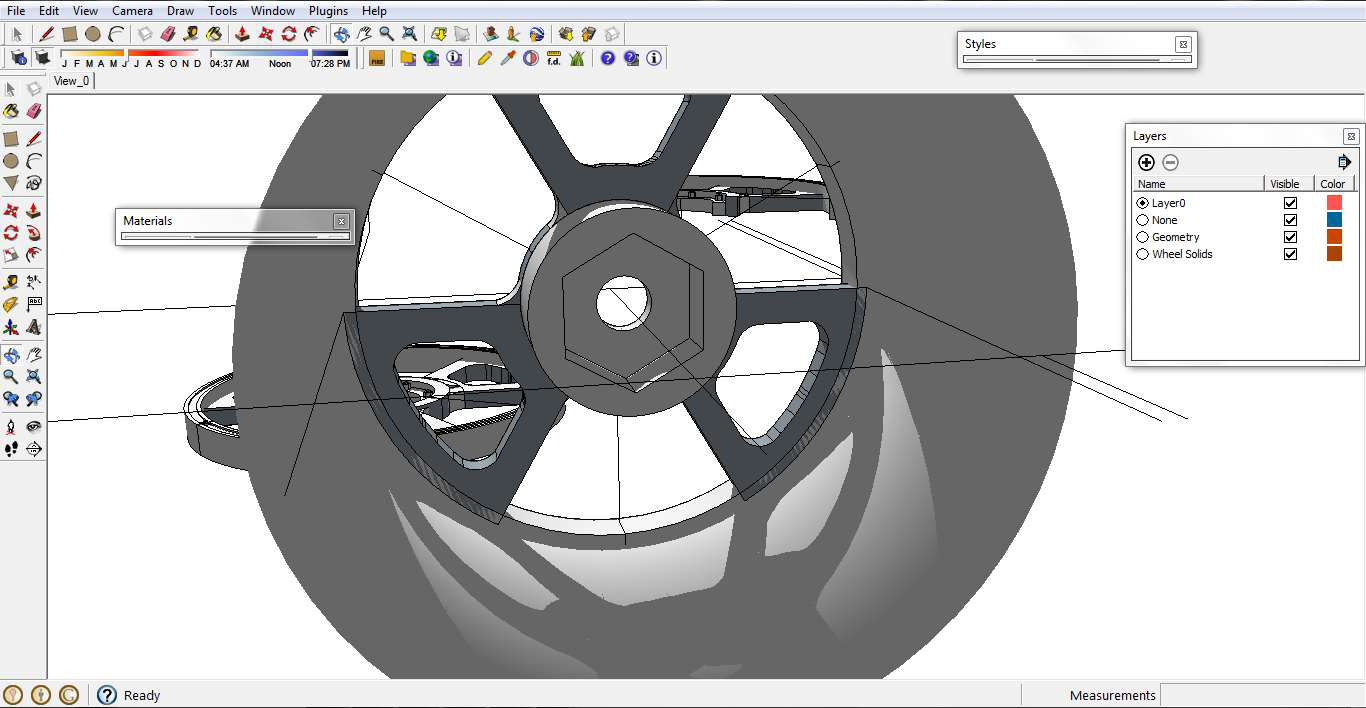
As a break from wondering just how to export a complex, and quite messy model as a perfect manifold STL file I took some time out to play with some photo renders to see what the wheel looked like with accurate reflective materialsassigned to it.

- Cover Story
-
 SketchUp Can Help You Win Interior..
 -
 Best Laptops for SketchUp
 -
 How to Resize Textures and Materials..
 -
 Discovering SketchUp 2020
 -
 Line Rendering with SketchUp and VRay
 -
 Pushing The Boundary with architectural
 -
 Trimble Visiting Professionals Program
 -
 Diagonal Tile Planning in SketchUp
 -
 Highlights of some amazing 3D Printed
 -
 Review of a new SketchUp Guide
- Sketchup Resources
-
 SKP for iphone/ipad
 -
 SKP for terrain modeling
 -
 Pool Water In Vray Sketchup
 -
 Rendering Optimization In Vray Sketchup
 -
 Background Modification In sketchup
 -
 Grass Making with sketchup fur plugin
 -
 Landscape designing in Sketchup
 -
 Apply styles with sketchup
 -
 Bedroom Making with sketchup
 -
 Review of Rendering Software
 -
 Enhancing rendering for 3d modeling
 -
 The combination of sketchup
 -
 Exterior Night Scene rendering with vray


